
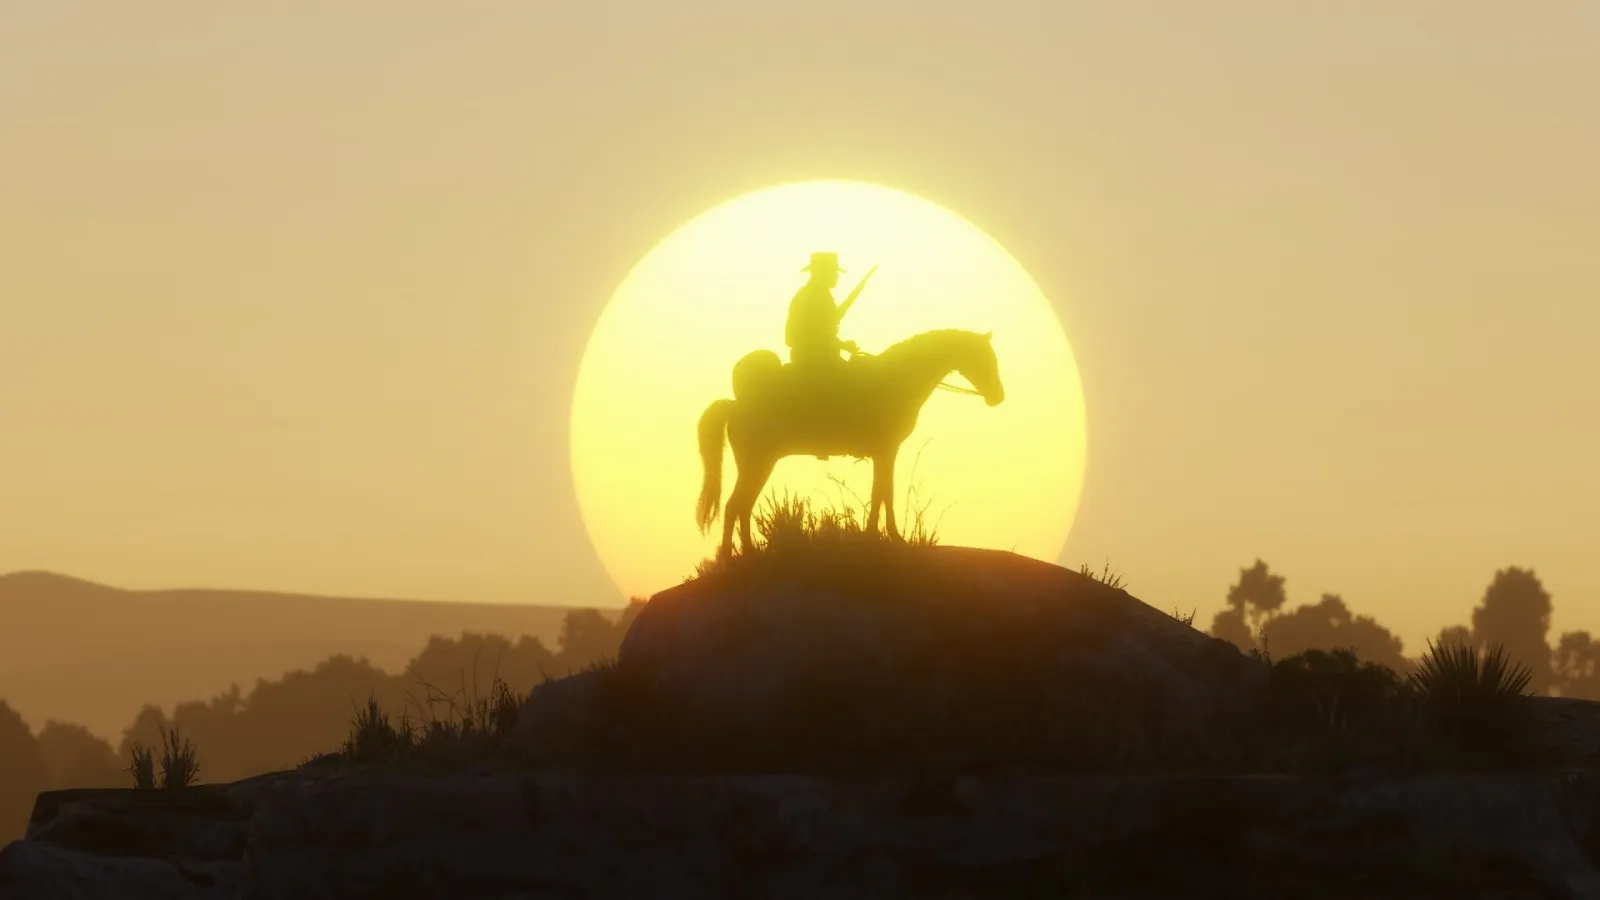
Every treasure map in the Red Dead Redemption 2 story, step by step: Jack Hall Gang, Poisonous Trail, High Stakes and the bonus Le Trésor des Morts. Where to get each map, where it leads, how many bars are at the end and how many chains you need for 100%.
Contents
- All RDR2 treasure map chains: table
- Jack Hall Gang: Maximo’s map and the treasure on O’Creagh’s Run
- Poisonous Trail: from Cairn Lodge to the Elysian Pool cave
- High Stakes: the treasure hunter, Barrow Lagoon and Bacchus Station
- Le Trésor des Morts: the bonus chain
- Other treasure maps in the story — no gold
- How to read the clues on treasure maps
- What counts toward 100% and the Explorer challenges
- Order to do them in
- RDR2 treasure maps FAQ
All RDR2 treasure map chains: table
RDR2 treasure maps aren’t random finds but short chains with fixed locations. According to rdr2.org, in the story the chest is always in the same spot (in Red Dead Online the locations are random). Each map is a drawing of a recognizable landmark: a rock, a waterfall, a stone circle or a lake with an islet. Find the landmark, then search nearby for the stash with the next map.
| Chain | When | How to start | Maps | Finale and reward |
|---|---|---|---|---|
| Jack Hall Gang | From Chapter 2 | Buy it from the stranger Maximo near Flatneck Station or from the Fence | 3 | An islet on O’Creagh’s Run lake — 2 bars ($1,000) |
| Poisonous Trail | From Chapter 2 | A lockbox under the bed in the Cairn Lodge cabin (Grizzlies West) | 3 | The cave behind the Elysian Pool waterfall — 4 bars ($2,000) |
| High Stakes | Chapter 3, after "The New South" | A treasure hunter (random encounter) or the Fence | 3 | A nook in the cliffs near Bacchus Station — 3 bars ($1,500) |
| Le Trésor des Morts | First map from Chapter 2 | The jail in burned-out Limpany | 3 (rdr2.org counts 2) | A crypt in the Saint Denis cemetery — 5 or 6 bars |
Gold bars are only sold to a Fence, at $500 apiece. All the other sources of gold — the puzzle, the train, the stashes — are gathered on the RDR2 gold bars page.
Jack Hall Gang: Maximo’s map and the treasure on O’Creagh’s Run
Start. The chain is the Stranger mission "All That Glitters", available from Chapter 2. The first map is held by a stranger, Maximo, near Flatneck Station (Heartlands, New Hanover). He asks $10; if you turn him down once, the price drops to $5. You can also take the map by force. If Maximo is gone, the Fence sells the same map.
- Map 1 → Caliban’s Seat. A rock formation south of Valentine. Climb to the top and work your way down the right side from ledge to ledge until you see a crack in the rock. Map 2 is inside.
- Map 2 → Cotorra Springs. Geysers in Grizzlies East (Ambarino). There’s a square of rock piles here, and map 3 is under one of them. Guides most often name the middle one, but descriptions differ — if it’s empty, check the neighboring piles.
- Map 3 → O’Creagh’s Run. An islet in the middle of the lake in Grizzlies East. The treasure is under a small rock. You can get there by boat or by swimming your horse across.
Reward: 2 gold bars, or $1,000 at the Fence. It’s the shortest and easiest chain, a good one to start with in Chapter 2.
Poisonous Trail: from Cairn Lodge to the Elysian Pool cave
Start. A lockbox under the bed by the door in the Cairn Lodge cabin near Cairn Lake — the snowy northwest, Grizzlies West (Ambarino). The map is available from Chapter 2.
- Map 1 → Face Rock. A "face" rock west of Ringneck Creek and Eris Field (Scarlett Meadows, Lemoyne). Map 2 is in the hollow of a dead tree on the slope, halfway up.
- Map 2 → Serpent Mound. A snake-shaped ring of stones on a hill southwest of Van Horn Trading Post (Roanoke Ridge, New Hanover). Map 3 is in the center of the circle, under the stones.
- Map 3 → Elysian Pool. A waterfall just north of Serpent Mound. The treasure is in the cave behind the water. The cave is dark and branching and only one passage is right, so bring a lantern and save before going in: it’s easy to fall there.
Reward: 4 bars — $2,000. It’s the most valuable of the regular chains. On its gold bar page Gamepressure describes these maps differently, but PowerPyx, Shacknews and rdr2.org agree on the route Face Rock → Serpent Mound → Elysian Pool.
High Stakes: the treasure hunter, Barrow Lagoon and Bacchus Station
Start. The chain opens in Chapter 3 after the story mission "The New South". The first map is carried by a treasure hunter — a random encounter in one of several preset areas (Fextralife counts 8 spots). He runs: lasso him and hogtie him, and the map drops. If you fail across three encounters, the Fence sells the map. Whether the hunter shows up again after escaping is an unverified question from the comments, so it’s better not to let him get away.
- Map 1 → Cumberland Falls. A waterfall in Cumberland Forest (New Hanover). Behind it is a small cave with map 2. PowerPyx suggests going in along the log on the right; other guides describe the entrance from the other side, so check both.
- Map 2 → Barrow Lagoon. A frozen lake in Grizzlies West, northwest of Valentine. Map 3 is in a broken stump or log on the islet.
- Map 3 → Bacchus Station. The cliffs above the river near the station in Grizzlies East. Climb down the ledges to a nook under an overhang — the treasure is there. Save before the descent.
Reward: 3 bars — $1,500.
Le Trésor des Morts: the bonus chain
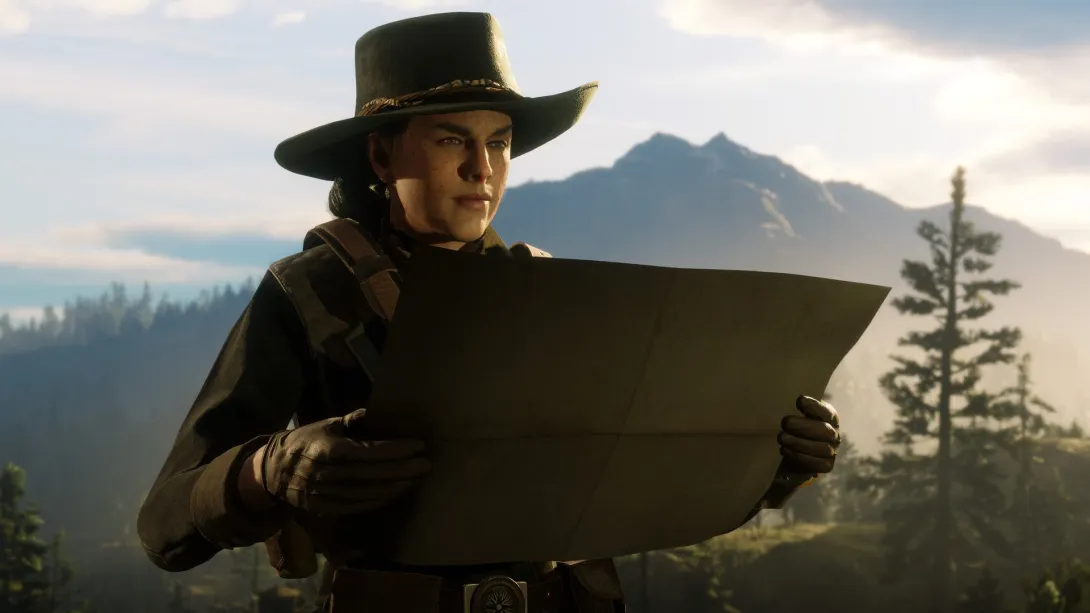
Le Trésor des Morts is a bonus for digital pre-orders and the Special and Ultimate Editions; the standard edition doesn’t have it (guides word this differently). No specific chapter is given for it: you can pick up the first map as early as Chapter 2, but part of the route goes through Saint Denis, which is easier to reach from Chapter 4.
- Map 1 — Limpany. A burned-out town in the Heartlands, north of Flatneck Station. The only building that didn’t burn is the jail; the map is next to a dead prisoner.
- Map 2 — the underground passage in Saint Denis. The southwest of the city, near the Cornwall Freight Station rail yard, at the "Storage Bays 4-6" sign. The map is next to a wooden crate.
- Treasure — the Saint Denis cemetery. A small crypt with a stained-glass window in the western part of the cemetery in the north of the city, with a stash in the wall.
Reward: here the sources disagree. PowerPyx and mein-mmo say 5 bars, rdr2.org and Shacknews say 6. Expect $2,500–3,000. The number of maps differs too: PowerPyx and Fextralife count three, rdr2.org two.
Other treasure maps in the story — no gold
Other "treasure" maps will show up in your satchel too. There’s no gold in them, but they’re worth knowing about.
- Torn Map → Mended Map. The map is torn into two pieces. Guides unanimously place one in a hermit’s shack in Manito Glade, north of Annesburg. They disagree on the second: PowerPyx says a shack at the head of the Little Creek River, rdr2.org a house northwest of Wallace Station. The assembled Mended Map leads to New Austin, to a small cave west of Twin Rocks (rdr2.org describes the spot as northwest of Armadillo, by the Cholla Springs label). The treasure is only available in the epilogue: Otis Miller’s Revolver and erotic postcards, no money. More on the revolver on the RDR2 weapons page.
- Chick’s Treasure Map. Part of the Chapter 2 debt collection mission "Money Lending and Other Sins": the debtor Chick Matthews pays you with a map, and the money is hidden in a tree. Guides say it’s $35, which goes into the camp box.
- Killer Clues. This isn’t a treasure but a map of murders: according to PowerPyx, it leads to the stranger mission "American Dreams" and $20.
Separately: the "Geology for Beginners" stranger with the rock carvings gives no gold bars — more on it on the rock carvings page. Landmarks of Riches and Elemental Trail are Red Dead Online treasures and aren’t in the story.
How to read the clues on treasure maps
The maps have no coordinates — just a sketch of the terrain. Here’s what helps:
- Look for a shape, not a point. Every map shows a landmark: a rock, a waterfall, a stone circle, a lake with an islet. Compare it with what you’ve already seen and open the maps in your inventory now and then.
- Binoculars. Near the landmark, scan the surroundings with binoculars — it makes the drawn outline of a rock easier to spot (GamesRadar suggests this for Jack Hall Gang).
- Not everything is literal. On the third High Stakes map, according to GamesRadar, it’s better not to go "between the two peaks" as drawn, but to climb down another way.
- Typical stashes: cracks in rocks, rock piles, tree hollows and stumps, nooks behind waterfalls. Get closer until the inspect prompt appears.
- Electric lantern — according to PowerPyx, the reward from the stranger mission "A Bright Bouncing Boy".
What counts toward 100% and the Explorer challenges
- The "Treasure Hunter" item on the 100% checklist is completed with one full chain — that’s what Gamepressure, GTABase and rdr2.org say.
- The Explorer challenges also count toward 100%. Explorer 1 is finding a map, Explorer 2–10 is finding treasure nine times. Stashes with maps count, so nine finds means three chains. PowerPyx and Fextralife say exactly that: you need three for 100%.
- With Le Trésor des Morts you can skip one of the regular chains.
- Mended Map: according to PowerPyx, Otis Miller’s Revolver from this map also counts toward 100%; other sources don’t confirm this.
The full list of requirements is on the RDR2 100% page, and other items to collect are in the collectibles section.
Order to do them in
- Early in Chapter 2, buy the map from Maximo and complete Jack Hall Gang.
- While you’re in Ambarino, grab the Poisonous Trail starting map at Cairn Lodge.
- If you have a bonus edition, take the first Le Trésor map in Limpany and finish the rest once Saint Denis opens up.
- In Chapter 3, after "The New South", catch the treasure hunter for High Stakes.
- Sell the bars to a Fence. For other ways to earn, see the how to make money in RDR2 guide.
RDR2 treasure maps FAQ
How many treasure maps are in RDR2?
There are three chains with gold in the standard edition (Jack Hall Gang, Poisonous Trail, High Stakes) and one bonus chain, Le Trésor des Morts. The regular chains have three maps each. Without gold there are also the Mended Map, Chick’s map and Killer Clues.
Where do I get the first Jack Hall Gang map?
From the stranger Maximo near Flatneck Station in the Heartlands: $10, or $5 if you turn him down once. If he isn’t there, the Fence sells the map. This starts the stranger mission "All That Glitters".
Where do I find the treasure hunter for High Stakes?
He’s a random encounter in Chapter 3 after "The New South", in one of several preset areas. Lasso him and hogtie him, and the map drops. After three failed encounters the Fence sells the map.
How many gold bars are in Le Trésor des Morts?
Sources disagree: PowerPyx and mein-mmo say 5, rdr2.org and Shacknews say 6. The chain is only available in the bonus editions.
How many treasure maps do you need for 100%?
The "Treasure Hunter" item needs one chain, but the Explorer challenges require nine finds — that’s three chains. If you have Le Trésor des Morts, you can skip one regular chain.
Can you miss a treasure map for good?
According to PowerPyx, no chain is missable: if needed, the Fence sells the Jack Hall Gang and High Stakes maps. The Mended Map can only be finished in the epilogue.
Read next
All guides →
Sources
- Official: Rockstar Games, Rockstar Newswire, Rockstar Support, Take-Two Interactive
- Databases and guides: Red Dead Wiki, RDR2.org, GTABase, PowerPyx
- Press: GamesRadar, PC Gamer, IGN, VGC, Game Informer
Every fact is checked against official sources or at least two independent ones; player-sourced data is labelled in the text. Images are official Rockstar Games material. GTA Top is not affiliated with Rockstar Games or Take-Two Interactive.